A Step-by-Step Installation Guide for Peel-and-Stick Murals
Introduction
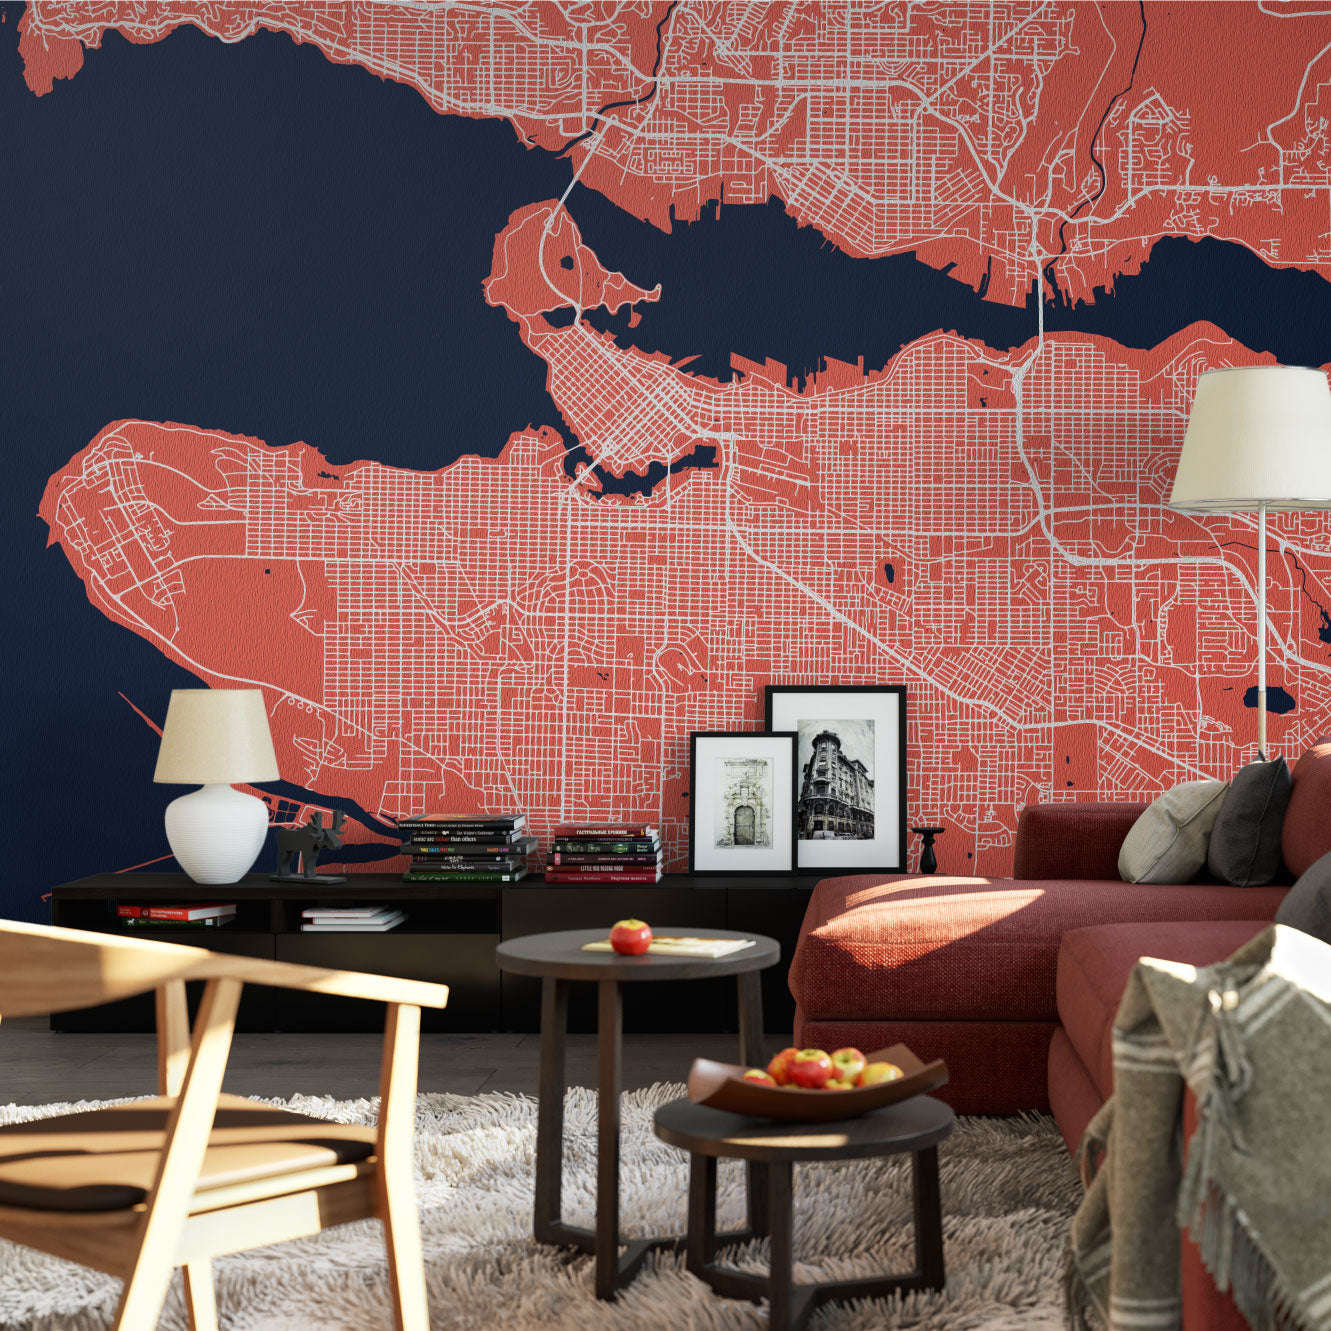
At Point Two Design Group, we understand the significant role that churches play in fostering community bonds. Our custom map murals are not just decorative elements; they are a testament to the area your church serves and cares for. Follow this guide to effortlessly install your mural and transform your space into a visual representation of your church's mission.
Step 1: Preparing the Canvas
Before you begin, ensure that the wall where the mural will be installed is clean and smooth. It’s an opportunity to come together as a community and prepare the space for transformation. You might even consider making it a community event!
You will need:
- A friend from your congregation (this is a two-person job)
- A warm, damp cloth or sponge
Instructions:
- Remove old wallpaper and clean the wall using the cloth or sponge.
- Sand down any rough areas and fill in gaps to ensure a smooth texture.
- If the wall is porous or has bright colors that might show through the mural, apply a layer of primer/mist.
Step 2: Unveiling the Mural
Carefully unpack the mural panels and lay them out in order. This is the moment where you start to see the beautiful map that represents your community.
Instructions:
- Verify that all panels are included and undamaged.
- Arrange the panels in order, noting the clear numbering indicating the order of installation.
Step 3: Bringing the Mural to Life
Now it's time to bring the mural to life on your wall. This step is a beautiful representation of your church's mission coming alive visually.
Instructions:
- Begin with the first panel, ensuring it is aligned straight. This step sets the stage for the rest of the mural.
- Peel off approximately 4-6 inches (10-15 cm) of the backing paper from the top and apply it to the wall.
- Continue peeling and applying in increments, smoothing the wallpaper against the wall as you go.
- Align subsequent panels carefully to match patterns or images, ensuring a seamless representation of your community map.
Step 4: Perfecting Your Artwork
This is the time to perfect your artwork, ensuring it stands as a flawless representation of your community.
Instructions:
- Use a wallpaper smoothing tool or your hands to remove any bubbles or wrinkles.
- If necessary, peel back an area and reapply it to achieve a smoother surface.
- Trim off any excess paper with a trim guide and a sharp knife.
Step 5: The Final Touch
Allow the mural to dry for 24 hours, and then step back to admire the transformation of your space.
Quick Tip: If bubbles appear over the next day or two, remove them by popping them with a sewing pin and then pressing and rubbing your fingers in a circular motion.
Your Community, Your Mural, Your Mission
In every line and curve of your custom mural, there lies a reminder of the vibrant community that flourishes under your guidance and care. As a pastor or church administrator, you hold the brush that paints the vivid canvas of your congregation's journey and service. These murals are more than just a decor element; they are a canvas that embodies your mission, your vision, and your commitment to the community you shepherd.
Embark on this transformative journey today.
Invite a piece of your community into your sacred spaces, fostering a stronger connection and a deeper sense of belonging. Reach out to us to craft a mural that resonates with your church's spirit, incorporating elements that are uniquely yours - be it your logo, mission statement, or brand colors that echo the ethos of your congregation.
Get a Custom Quote Today!
Discover the profound impact a custom mural can have on your church. Visit our custom quote page to initiate a conversation. Together, we can create a mural that stands as a testament to your church's legacy and future.


